


Activity Reviewed: Happy Hands Can - Resin DIY Craft Kits: Fascinating, Useful, Creative
Reviewer: Lyn Lee who blogs at Lil Blue Bottle
I was surfing around for craft kits to purchase when I remembered Happy Hands Can!
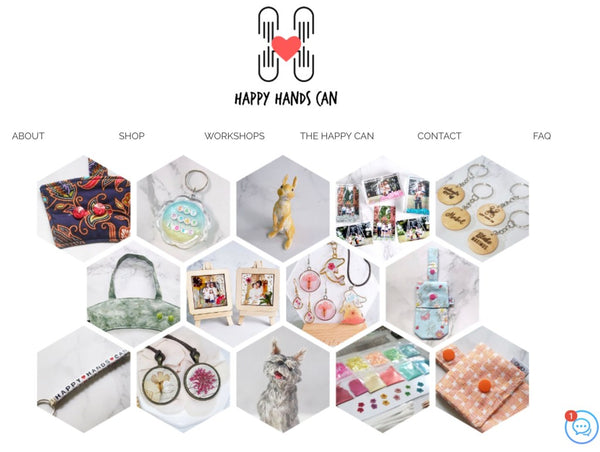

Photo Credit: Lyn Lee
I appreciated that courier delivery is included in the price of all DIY kits, and we received it really quickly a day or two after ordering, in a pretty lavender package!

Photo Credit: Lyn Lee
We enjoyed the first kit so much, and the bottle of resin was generous enough to fill up quite a few more frames, so we made a repeat order of 3 more keychain frames, and M kindly threw in another set of little earrings! We then completed all that in a few hours, and were still raring to go. (Yes, the stay-home June holidays do seem to stretch infinitely, don’t they?)
So I asked if Happy Hands Can would like to be featured on this blog, and they kindly agreed to send another complimentary kit with customised premium frames for a full review! And here it is, in all its glory. I found the premium frames very sturdy and of high quality, shiny and not easily bent.
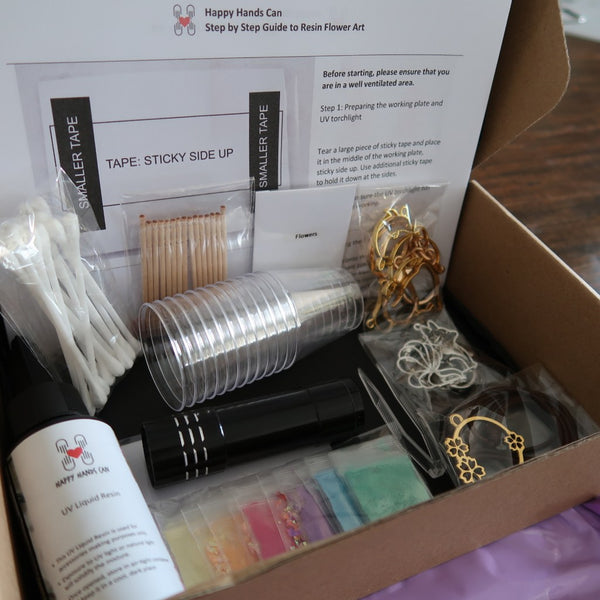
Photo Credit: Lyn Lee
I appreciated the fact that the website was very clear that certain additional items were required, but not included in this DIY kit, namely 3 x AAA batteries, pliers and sticky tape. So I was always well-prepared when the kit arrived!
There’s a handy list included on all the contents, and I loved the tiny little flowers – I left the colour selection up to M, and was always pleased with the variety.
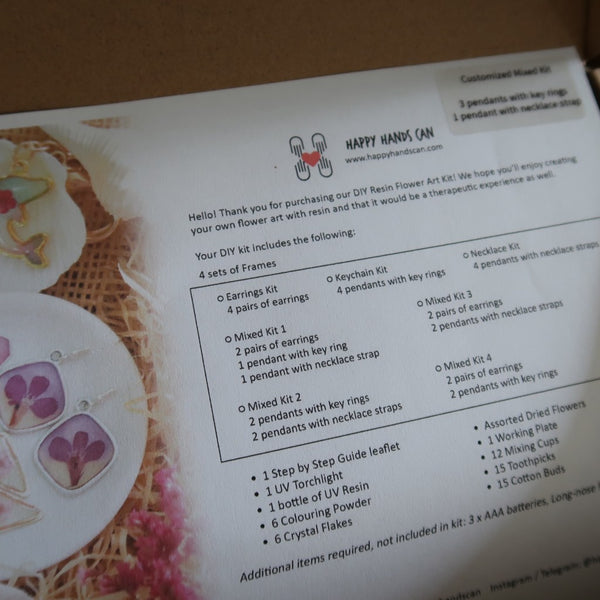

Photo Credit: Lyn Lee
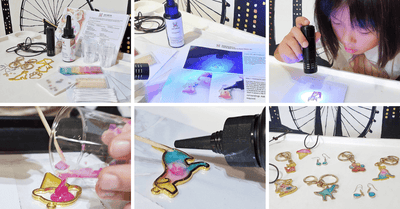
Here are the girls, ready to get cracking on yet another set of UV Resin keychains!
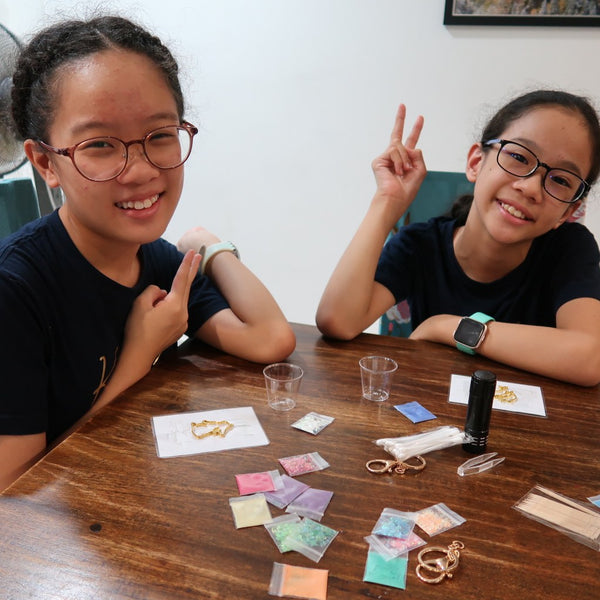
Photo Credit: Lyn Lee
First, we mixed a very light dusting of pigment into a small squeeze of resin, because we know that a little pigment actually goes a long way with resin, and the effect is always better when some light can pass through the resin. Not much resin is required for each colour because we aimed to blend in a few colours for each space.
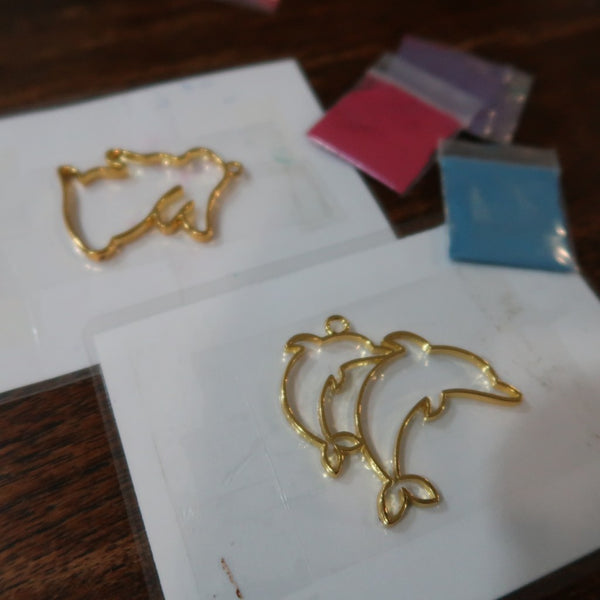


Photo Credit: Lyn Lee
Mix the pigment and resin with the toothpick provided, sprinkle in some tiny crystal flakes if you like for an even spread of sparkle, and then pour out the resin into the frame. You can also use the tweezers provided to place the slightly bigger flakes on top of the resin if that’s the effect you’re going for.
Next, it’s UV time! When I previously crafted with resin, it was always epoxy resin, which needed a day or two to cure (i.e. harden). So I was quite amazed at how fast UV Resin cures – just 2 minutes under UV light, from this handy little UV torch. The frame does get heated up, so make sure you don’t touch it right after you switch off the UV.

Photo Credit: Lyn Lee
I find Resin Art really therapeutic, because something so simple can be manipulated in so many ways, and personalised to a thing of such beauty. We decided that they make great handmade gifts for relatives, and are sweet as a handbag or schoolbag charm as well!
After pouring out all the resin, run your toothpick around the edges to make sure that the resin flows into all the required nooks. Pop any little air bubbles that you can see, as you don’t want trapped bubbles to ruin the look of your resin art piece. If any resin seeps out the bottom, you can mop it up with the cotton buds provided.
Any errors (e.g. overflows) can be wiped up with wet wipes as well so long as you haven’t started hardening it with UV. If some resin is hardened outside the edges of the frame, you can scrape them off with a good penknife.


Photo Credit: Lyn Lee
I enjoyed using the technique of having many layers – first a thin layer of blended and clear colours to have better control of the final look, then placing a flower in, then topping it off with clear resin, and then another domed layer to finish one side off. Then, it’s flipping it over as the instructions say, to dome the other side and harden it with UV light. Let it cool, and voila! All done.
Over time, we realised that layering on a lavish high-domed finish makes the frames look the best. The great thing about UV Resin is that you can go back and add another layer anytime, until you’re satisfied with the final outcome. Working with resin is one of those things that are a minute to learn, and a lifetime to master!


Photo Credit: Lyn Lee
Ta-dah! These were our final creations from this set.

Photo Credit: Lyn Lee
Thereafter, it’s time to take out the pliers (I found working with two sets of pliers the most effective), and do some metal twisting to affix the keychains and/or necklaces and earrings on.

Photo Credit: Lyn Lee
Aren’t they pretty? Recommended for ages 10 and up, though younger children can try their hand at it under the guidance of an adult.
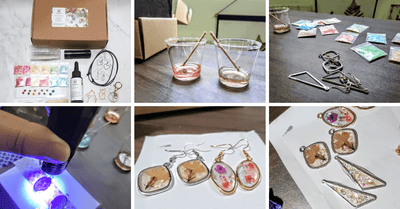
Here’s the final gallery of all our completed creations, including those from our previous two purchases too!


Photo Credit: Lyn Lee
Thanks Happy Hands Can! Indeed, when you’re happy, your hands can accomplish so much. We really enjoyed these kits.
Happy Hands Can also has other interesting kits such as this DIY Resin and Floral Photo Art Kit, which will make a lovely handmade present for Father’s Day, Mother’s Day or for doting grandparents!

Photo Credit: Lyn Lee
There’s also an AlphaBeads Keychain DIY Resin Art Kit as shown below, where you can customise your name or a short phrase together with resin in pigment colours of your choice.

Photo Credit: Lyn Lee
So hop on over to the Happy Hands Can website or Facebook Page to get inspired on the kits you could acquire!
Happy Hands Can DIY kits are available for purchase on bykido.com!
Leave a comment